 This week for Fat Quarter Friday I am sharing a tutorial for a pillowcase I made to donate towards Pillow Fight...For a Cause over at Ladybird Lane. Each month Ladybird Lane features a charity, service organization, or project to spotlight during the month. What a great idea right?Well this month they are featuring a friend of theirs, Malynn. Malynn is a 14 year old girl that is currently having some medical issues and has been in and out of the hospital for the past 6 months. Malynn is a very talented seamstress and has set a goal to donate 100 pillowcases to Primary Children's Medical Center, to brighten up the patients rooms. Maylnn needs a little help reaching her goal and is asking others to pitch in by making pillowcases to donate and brighten up someones day. Want to donate a homemade pillowcase or to learn more about the Pillow Fight...For a cause? Head on over to Ladybird Lane.
I knew I wanted to make something different then just your standard pillowcase so I came up with a pillowcase that has a pocket on the front for storing pj's or hiding their "treasures" when they are not using it as a pillow. I also added some ties on the inside of the pillowcase to keep the pillow from falling out. Anyone that has spent more then a few nights in the hospital knows that hospital pillows never stay inside of their pillowcases and are constantly falling out. Instead of using a cotton fabric I used some leftover pieces from a towel instead of a cotton fabric. I just love how soft and comfy the material as well as how bright and cheery it is! I'm really hoping that this pillowcase will brighten some childs day.

 Pillowcase Tutorial
(allow 1-2 hours to complete)
**Pillowcase is intended for an older child. May be a chocking hazard for small babies!**
 Materials Needed:
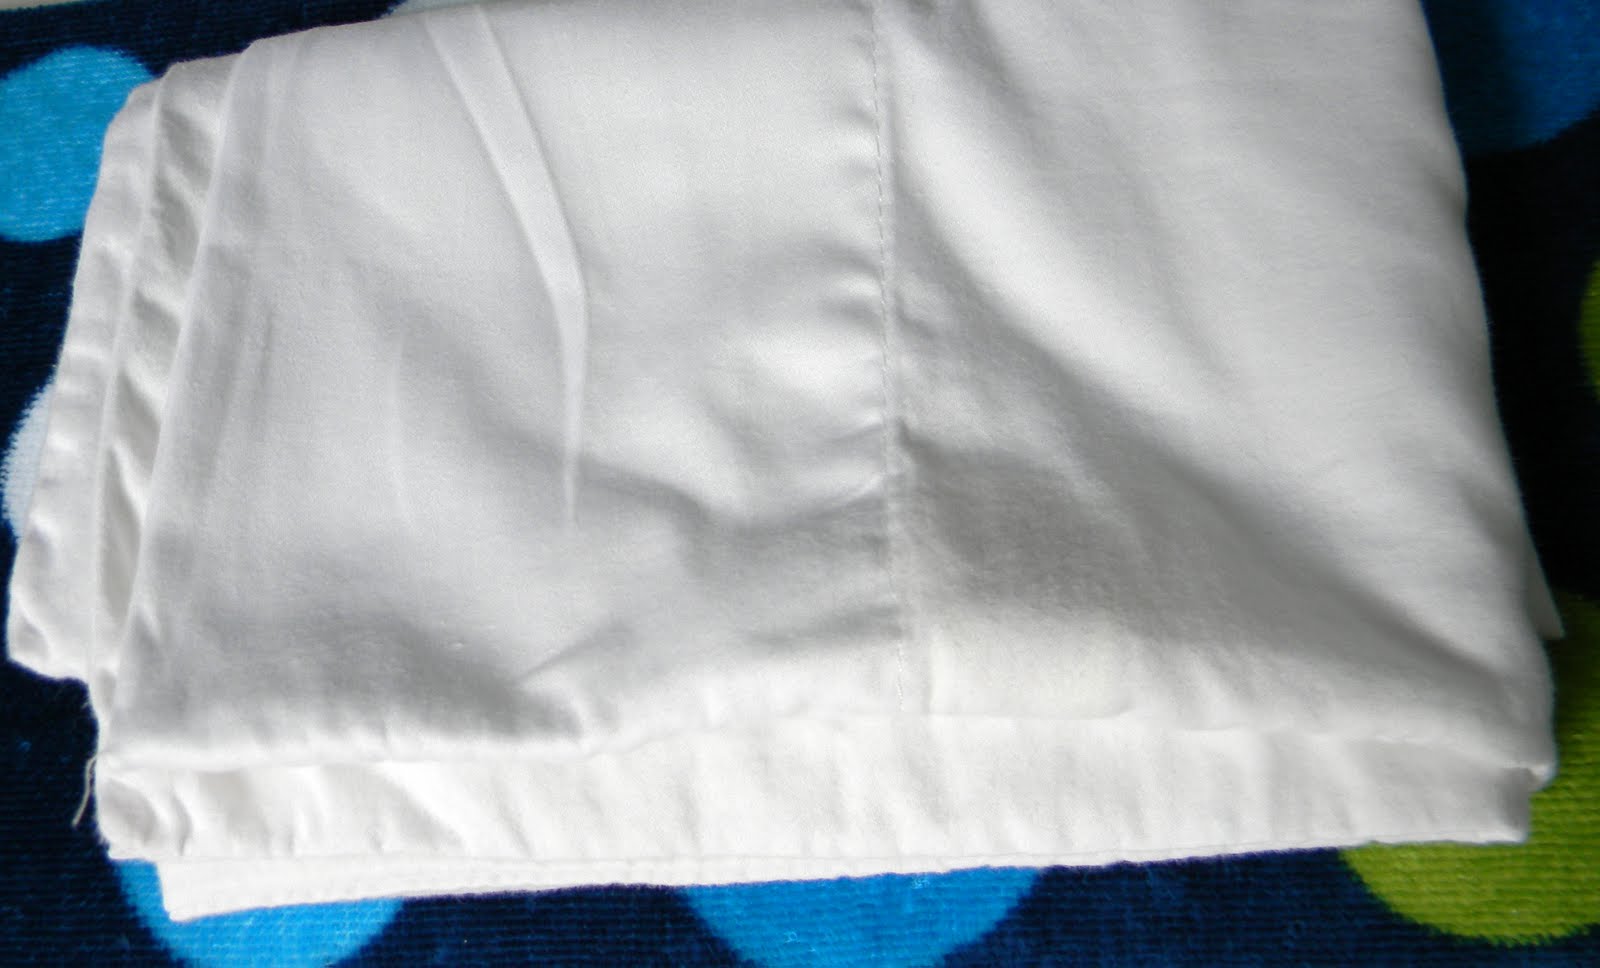 Use a pillowcase that you already have on hand as the template and cut out two pieces of fabric slightly bigger then the pillowcase. You want to add an extra 1/2" all around the pillowcase to account for your sew seams. My pillowcase ended up being 30" x 17".
 Since I was going to use a whale printed fabric I decided to embellish the pillowcase with a large whale on the pocket. I made a whale template by drawing a whale onto a piece of card stock and then cut it out.
 Now gather two pieces of fabric and place them right sides together. Trace the whale template onto the fabric. Now stitch on top of the marks you just made. Make sure to leave a 1-2" opening for turning right side out. Once sewn, trim very close to the sewn edge, except where the opening is. Leave a little extra fabric at the opening for tucking in once turned right side out.
 Turn right side out and iron flat. Make sure you push all of the edges out and it lays flat.
 Take your other fat quarter and cut two pieces into your desired size for the pocket. My pocket piece was 13" x 11".
 Sew all four sides of the pocket piece, make sure to leave a 1-2" opening for turning right side out. Turn right side out and press. Pin whale onto pocket piece and sew all around the edges of the whale to attach it to the pocket piece. Now pin the pocket piece onto the pillowcase in the desired location.
 Attach pocket to pillowcase by sewing the sides and bottom of pocket piece. Make sure you do not sew the top shut.
 Now make 4 ties or you could use some ribbon. I decided to make my ties. All I did was make four pieces of bias tape and then sewed the sides. My ties are 13"x 1/2".
 To attach the ties you want to secure them on the inside of the pillowcase. Turn pillowcase wrong side out.
 Working with the top piece of fabric first measure 4" in from the right side edge and 4" up from the bottom, pin one tie in place. Now repeat on the left side. Now working with the other piece of the pillowcase, repeat the last two steps. Sew ties in place just where your pins are. You do not want to sew the entire tie onto the towel, just enough stitches to keep the tie secure and in place.
 Turn pillowcase right side out.
 Now add a little more color by sewing on a strip of fabric to the edge of the pillowcase. This strip will also cover up the stitch marks from the ties. I sewed two pieces of fabric that were 17" x 4" together and then folded the raw edges under to conceal.
 Pin strip in place about 2 1/2" in from the edge all around the pillowcase. Sew strip on both edges. Make sure you hold the ties out when sewing strip on. You do not want to accidentally sew the ties up in an awkward position.
 Now your finished. Place your pillow inside of the pillowcase and tie in place. No more slipping pillows. **Of course I would not recommend this pillow with ties or pocket for any young children due to it being a possible chocking hazard.**


 And a cute little pocket for holding your little ones treasures or pj's.
 Special thanks to Ladybird Lane and Malynn for allowing me to donate this homemade pillow. I'm hoping it adds a little brightness and cheer to some child's day.
**Please feel free to use this tutorial for your personal sewing projects. You may link this to your blog and use any photo's. Just please be kind and give credit where credit is due.**
Any questions or comments please do not hesitate to contact me. If you make one using this tutorial, please add it to my flickr group. I would love to see it and you just might see it featured on my blog one day!
Love it!
ReplyDeleteWhat a cute pillow! I love the whale, and I love the pocket idea! AND I love the ties (it's so true, the pillows NEVER stay in the case when you're in bed for more then a day). I think I'll have to make a pillow for the charity. I love when people do those. Plus, Primary Children's is in my area.
ReplyDeleteThis is DARLING! I love the pocket, and the whale, and the ties... pretty much EVERYTHING! Thank you so much for joining the Pillow fight!
ReplyDeleteCarlee
www.ladybirdln.com
It's adorable! Thanks for sharing! Come see our cases for the pillow fight.
ReplyDeleteAbsolutely adorable addition to the Pillow Fight! Great work! :)
ReplyDeleteYour pillow is just great. Another wonderful place to donate your pillowcases is ConKerrCancer.org. They deliver to all sick children in the hospital.
ReplyDeleteAh! So cute! Whales in a whale. On a whale? Whales!! :] *struck speechless by the cuteness*
ReplyDeleteVery cute! Love the colors you chose and that it is for a boy :)
ReplyDeleteJust a quick note to let you know that a link to this post will be placed on CraftCrave today [18 Jun 08:04am GMT]. Thanks, Maria
ReplyDeleteAdorable pillow case!
ReplyDeleteVery creative! I love the colors
ReplyDeleteThis is adorable! It is giving me inspiration for making pillows for my baby's room =) love the little whale and the pocket on the front for little treasures!!
ReplyDelete-Adriane@fruitfulhomejournal.blogspot.com
Adorable! I love the pocket idea!
ReplyDelete