Vinyl Covered Trash Bag Tutorial
(allow 2+ hours to complete)
(allow 2+ hours to complete)

Materials Needed:
*28" x 24" piece of cotton fabric (or whatever size you wish)
*1 yard iron-on vinyl
*1 set of plastic buckles or Velcro

You can purchase iron-on vinyl at Jo Ann's and at most fabric stores. It is really easy to work with and you will love that you can turn any fabric into a laminated cotton by using this. Of course you can purchase an already laminated fabric, but i like making my own since it allows you to have more fabric choices.

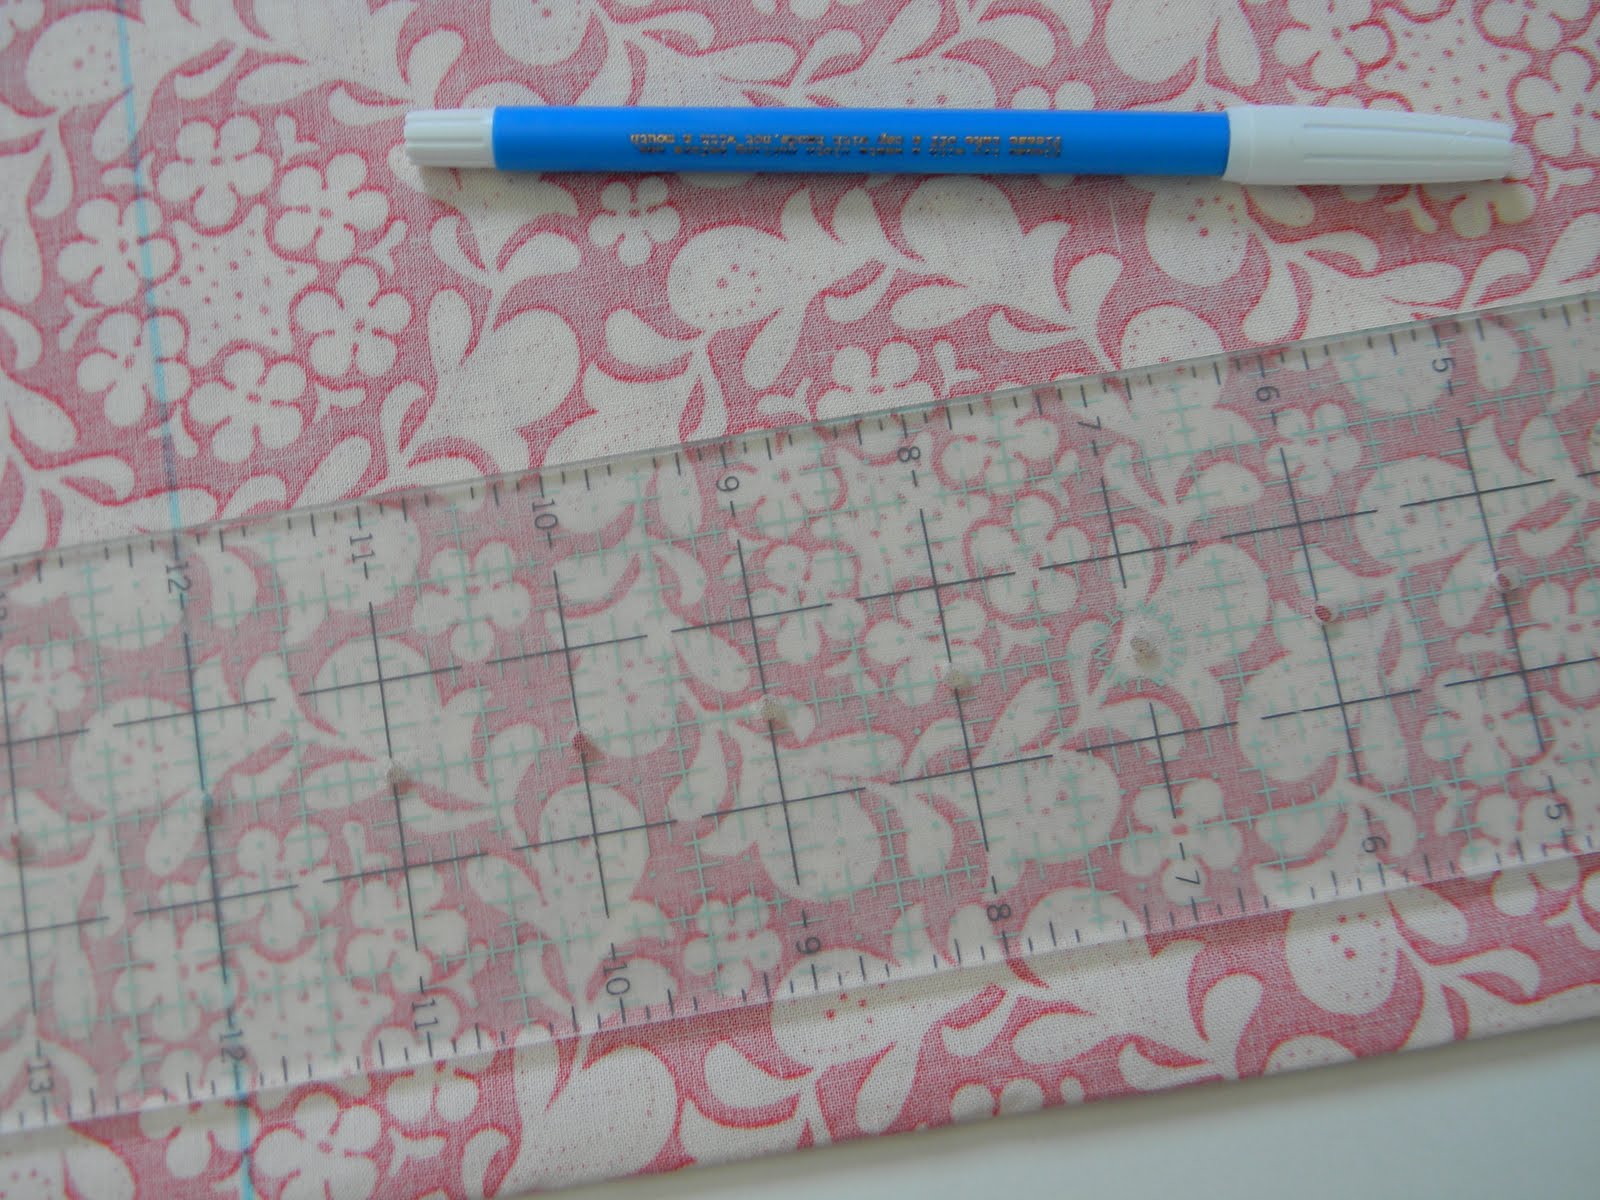
Attach the iron-on vinyl onto the fabric per instructions on package. Once ironed on fold the fabric so that it measures 14" x 24".

Measure down 3" from the top and cut off. These two pieces will become the handles of the bag.


Now measure in 12" from the side and cut. You should be right in the middle. Now these two pieces will become the main pieces of your bag.
This is what your pieces should look like now.

Now take one of the large bag pieces and sew right sides together while leaving the top open. Repeat with the other piece.

Switch to a Teflon foot. It will make sewing on top of the vinyl side of the fabric much easier.


Once the sides are sewn together, square up the edges on the bottom of the bags to give them shape.

Trim excess fabric off.

Here is what your two bags should look like from the bottom now.

And on the inside.

Now it is time to make the straps. Take your two 3" wide strips and cut them in half length wise.

Sew two of the strips together on the sides with right sides facing. Trim excess fabric off.

Turn right side out and top stitch down the sides of straps.

Now take one of the bags and turn it right side out.

Stuff the bag that is right side out into the bag that is wrong side out.

Gather your buckle or Velcro.

And attach it to one end of the straps.

Now you are going to place the straps in between the two bags like pictured below with the buckles on the bottom. Just make sure when pinning the straps in place that the buckles are facing in the correct position and will buckle once turned right side out.

I like to leave about 1" hanging out of the top for a little added stability. Now sew all around the top edge while leaving an opening of about 2"-3" for turning right sides out.

Turn right sides out and top stitch all along top edge while sewing the opening shut.

And there you have it. A cute little vinyl covered trash bag for the car.

I purchased a box of those plastic diaper bags from the dollar store to use inside of it. You can unbuckle the straps and put the buckles through the handles in the plastic bag to hold the bag in place. Its a great way to keep those plastic bags in place and from slipping especially when its going to be holding dirty diapers.


You are a bag lady! (And I mean that in the nicest sense of the word.)
ReplyDeleteBecause YOU are awesome at bags. Me, not so much.
Christina, thank you for the AWESOME tutorial. I bet you could use a vinyl tablecloth with the same results. I bought some cute ones on clearance at the end of the summer and didn't know what I could make with them but just couldn't pass them up. I think I will make some adorable trash bags and see if I can get similar results. THANK YOU!!!
ReplyDeletethat would definitely work. i never seem to find any cute ones. lack of stores up here in the north:)
ReplyDeleteGreat idea-- love the patterned vinyl!
ReplyDeleteI really like this idea! I even have some of this vinyl stuff leftover from when I made bibs for my kids. Thank you!
ReplyDelete