Here is the BIG BOY tool belt tutorial. I call it the BIG BOY tool belt because that is what my little guy calls it, but in all reality, it is made for a 3 year old. The basic design of this tool belt will work great for any age, just adjust the measurements to make a larger one for an older kid or make one for yourself. It is made for a little kid in mind but it really does function like a BIG BOYS tool belt.
 BIG BOY tool belt tutorial
(beginner level: 1-2 hours to finish)
 Materials Needed:
Home decor fabric: or you can use cotton fabric just add a stabilizer or some batting
1 1/2" Plastic buckle
*cut 4 pieces: 5 1/2"X 8 1/2"
*cut 2 pieces: 6 1/2" X 9 1/2"
(These will be used to make the pouches.)
*cut 1 piece: 37" X 3 1/2"
* cut 2 pieces: 6" X 1 1/2"
* cut 4 pieces: 5 1/2" X 3 1/2"
* cut 2 pieces: 5 1/2 X 1 1/2"
(These will be used for the belt, slider, hammer holders and flaps for holding the pouches onto the belt.)
Let's get started!
 Gather all 6 pieces of fabric that will be used to make the pouches. Fold each piece in half with right sides facing and sew sides. Repeat with the remaining 5 pieces.
 Now take each pouch and square off the corners by measuring in 1/2." Sew and trim corner edge. This will give the pouch it's shape.

 Take and turn one pouch right side out and take one that is wrong side out.
 Place the pouch with right sides facing out inside of the other pouch. Sew around top edge leaving a 2" space.
Pull right sides out.
 Press and top stitch around the top of pouch. Repeat for the remaining pouches.
 All three pouches should be made now.
 Gather one small pouch and the large pouch, pin together with the bottom edges even.
 Sew pouches together at the top.
 Time to make the belt. Take the 37" X 3 1/2" piece and sew right sides together.
Pull right side out, iron and top stitch belt along the sides and the middle.
Cut 6" off the belt. This will be used later as one of the hammer holders.
 Attach one of the buckles and sew in place.
 Take the two 5 1/2" X 1" pieces and sew right sides together, leaving an opening to turn right side out. Pull right side out, iron and top stitch. This is going to be used as a slider.
 Take the end of the belt that doesn't have a buckle attached yet and pull belt through the other buckle. Pull it through 6" or so. Make sure buckles line up and close. Also make sure belt is not twisted at all.
Now you are going to attach the slider piece you just made to the very end of the belt.
Take the end of the belt and fold over 1/2" and press. Now attach it to the slider. Sew in place on two spots.
 Here is what the finished slider looks like.

 Attach velcro to the slider. Attach the velcro so that the "hook" is on the front top and the "loop" is on the back bottom.
 Here is the slider all finished.
 Belt should look like this.
 Take the 6" piece that you cut from the belt and fold edges over and iron. This is going to be used as one of the hammer holders.
 Now attach it to the side of the smallest pouch.
 Here is the finished pouch with a hammer or screwdriver holder.
 Gather the two 6" X 1/2" pieces and sew right sides together, turn right side out, iron and top stitch. Now attach this piece to the two pouches that are sewn together. This is going to be a screwdriver holder.
 Now it is time to attach the pouches onto the tool belt.
 Gather the four 5 1/2" X 3 1/2" pieces and sew two of them together with right sides facing, and while leaving a space to turn right side out.
  Turn right side out, iron and top stitch. Repeat with the remaining two pieces.
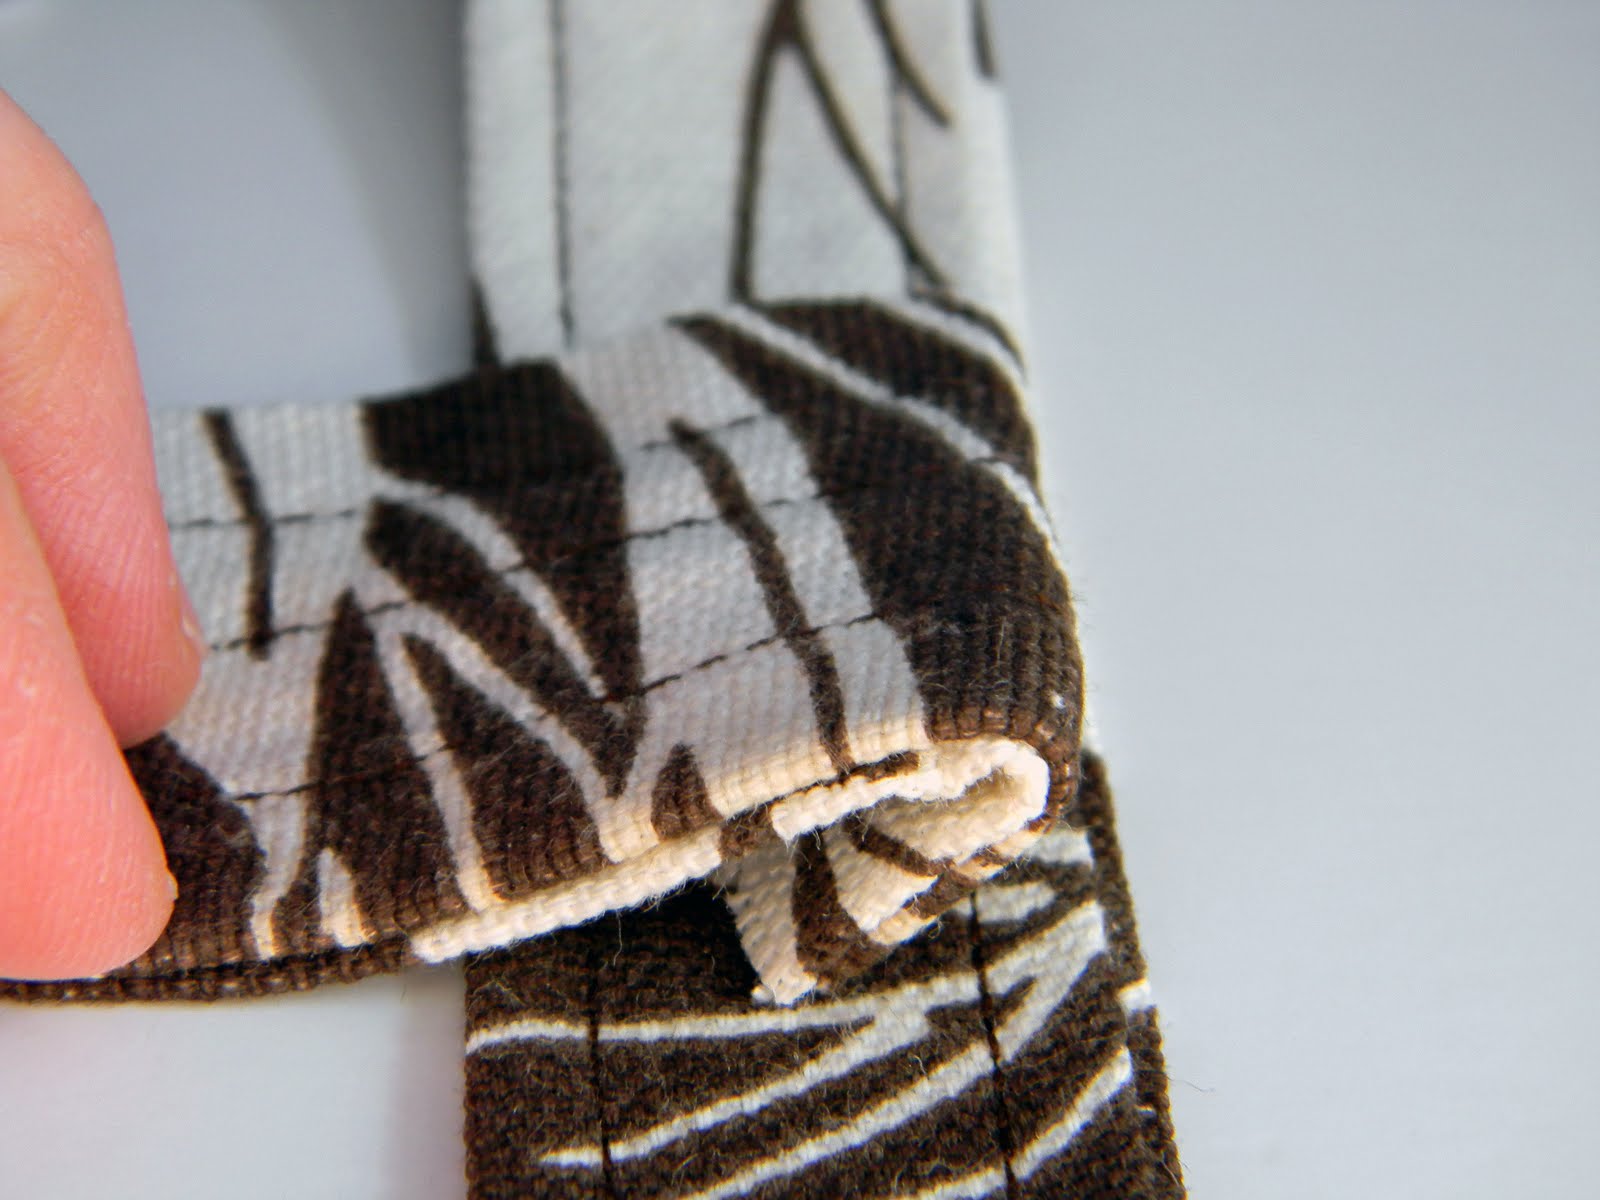
 Fold over the belt like so. Notice it is on the outer loop of the belt.
 Place pouch on top overlapping by about 1/2 - 3/4". Now fold top flap over onto pouch. Make sure flap is even on the pouch and pin in place.
 Sew right on top of the top stitch that was already stitched on the flap. That way you will make sure not sew onto the belt part at all. Remember you want the pouches to be able to move around on the belt.


 Now fill with some tools and your all set!


**Please feel free to use this tutorial for your personal sewing projects.**
You may link this to your blog and use any photo's, just be kind and give credit where credit is due.
Any questions or comments please contact me. If you make one using this tutorial please send me an email or add it to my flickr group.
Happy Sewing!

Any questions or comments please contact me. If you make one using this tutorial please send me an email or add it to my flickr group.
Happy Sewing!
AWESOME! Wish I had this tutorial before Christmas!!!
ReplyDeleteSo cool! Love that you weren't afraid to use a floral fabric!
ReplyDeleteThis is great! I am featuring it as part of a toolbelt roundup on my blog :) http://bisforboycreations.blogspot.com/2011/03/fabulous-friday-finds-toolbelt-roundup.html
ReplyDeleteMuchísimas gracias por el tutorial. Tenía pensado hacerle un cinturón de herramientas a mi pareja para mi "Semana del Gran Olvidado de Casa" y tu tutorial me facilitará el trabajo. Ya te pasaré el link cuando lo acabe.
ReplyDeleteUn abrazo